Dividing Dahlias for winter storage - part 3 in a 4 part series on dahlia winter storage
Welcome to a continued series on digging, dividing and storing dahlia tubers for next year’s growing season. Part 1 of this 4 part series discussed preparation and supplies needed for this task. Part 2 discussed digging dahlias. Now it is time to divide your dahlias - always a scary prospect to those who have not yet done this. Relax, you’ve got this!
What you see in the above photo is a single tuber, divided from a much larger clump. On the tuber, you will see a small raised bump (near the tip of the white plant stake). The bump is called “an eye.” This tuber, with an eye, is all you need for next year’s planting. Quite a difference from that mammoth, weighty clump dug from your garden, yes?
So, how did we get from there to here? If you recall, last post showed a photo of a partially-cleaned clump of tubers with the stalk cut back. Around that stalk were many tubers. Not all tubers have eyes, but many do. In the fall, the eyes are visible for a short time and then they become less raised and noticeable. There are three important things to know about dividing your dahlias. First, not all tubers have eyes, but if you can’t tell if an individual tuber has an eye or not, you can always simply cut the entire clump in half, by taking a bird’s eye view and cutting across the old stalk (the hole that you see in the middle) and cutting down through the entire clump. Yes, some tubers will be damaged in the process, but this leaves quite a few tubers on each half and you are bound to have eyes on each half. If you want to save something smaller, it is usually equally successful to then cut each of these halves again in half, leaving four quarters of a tuber clump, which also should have their own eye(s) for next year’s stem growth. Second, you will see from the photo above, that the eyes are located on this little “collar” that is at the tip of the tuber near the stalk. So, you must have this collar portion to have an eye. You can not simply cut across the “neck” of the tuber, which is the more narrow part between this collar and the rest of the tuber, and have a viable tuber for next year. No eye equals no go. Third, the neck, being thinner, can bend, can break, and will break if you do not handle with care. Broken necks are not good. You want to keep your tuber in tact, so gentle handling is important. Finally, dahlia tubers are surrounded by a “skin” of sorts. When the tubers are still wet/damp, the skin can be very easily peeled off, which, also, is not desirable. So, this is another reason to handle your tubers carefully. If the skin around the larger part of the dahlia is slightly peeled off, the tuber will, when dried by air and/or sun develop another skin and should be fine. Because I grow many dahlias, I like to store individual tubers, rather than entire clumps. During my first year or two of growing, I stored the entire clumps and put them in the ground as entire clumps the following spring. Now I go for space savings and divide clumps prior to storage. Do I save every tuber? Not at all. From some clumps I only take a single viable tuber or two. I look for a sizable tuber with a good eye, pull out my hand pruning clippers, and cut. The rest goes in compost.
Now, for some information on some problem areas and tips. Ideally, you would like a nice, big, or plump tuber to overwinter. Very thin tubers can be more problematic in terms of remaining hydrated enough to be viable when you plant in the spring. Having said that, certain dahlia varieties simply grow long, thinner tubers than others. So, for varieties that seem to have this longer, thinner dahlia shape, I will suggest you cut and save more than you think you want, and also consider saving a 1/2 clump or 1/4 clump rather than an individual tuber. Next up for problem areas: what to do about a tuber that has some “rot” for lack of a more specific term. Suppose you find a great looking tuber with a great looking eye, but you see a black or dark brown patch on the other end of the tuber, or you find a mushy spot along the tuber. What do you do? Take out your clippers again and cut it off or cut it out. If you find, in cutting, that the gunk is still visible further into the tuber, keep cutting until the tuber looks cleaned of this discolored or mushy material. If you do not remove these parts, they will likely continue to rot and cause decay of your tuber over the winter. If you find you have to remove more than 1/2 to 1/3 of the tuber, I would look to choose another tuber.

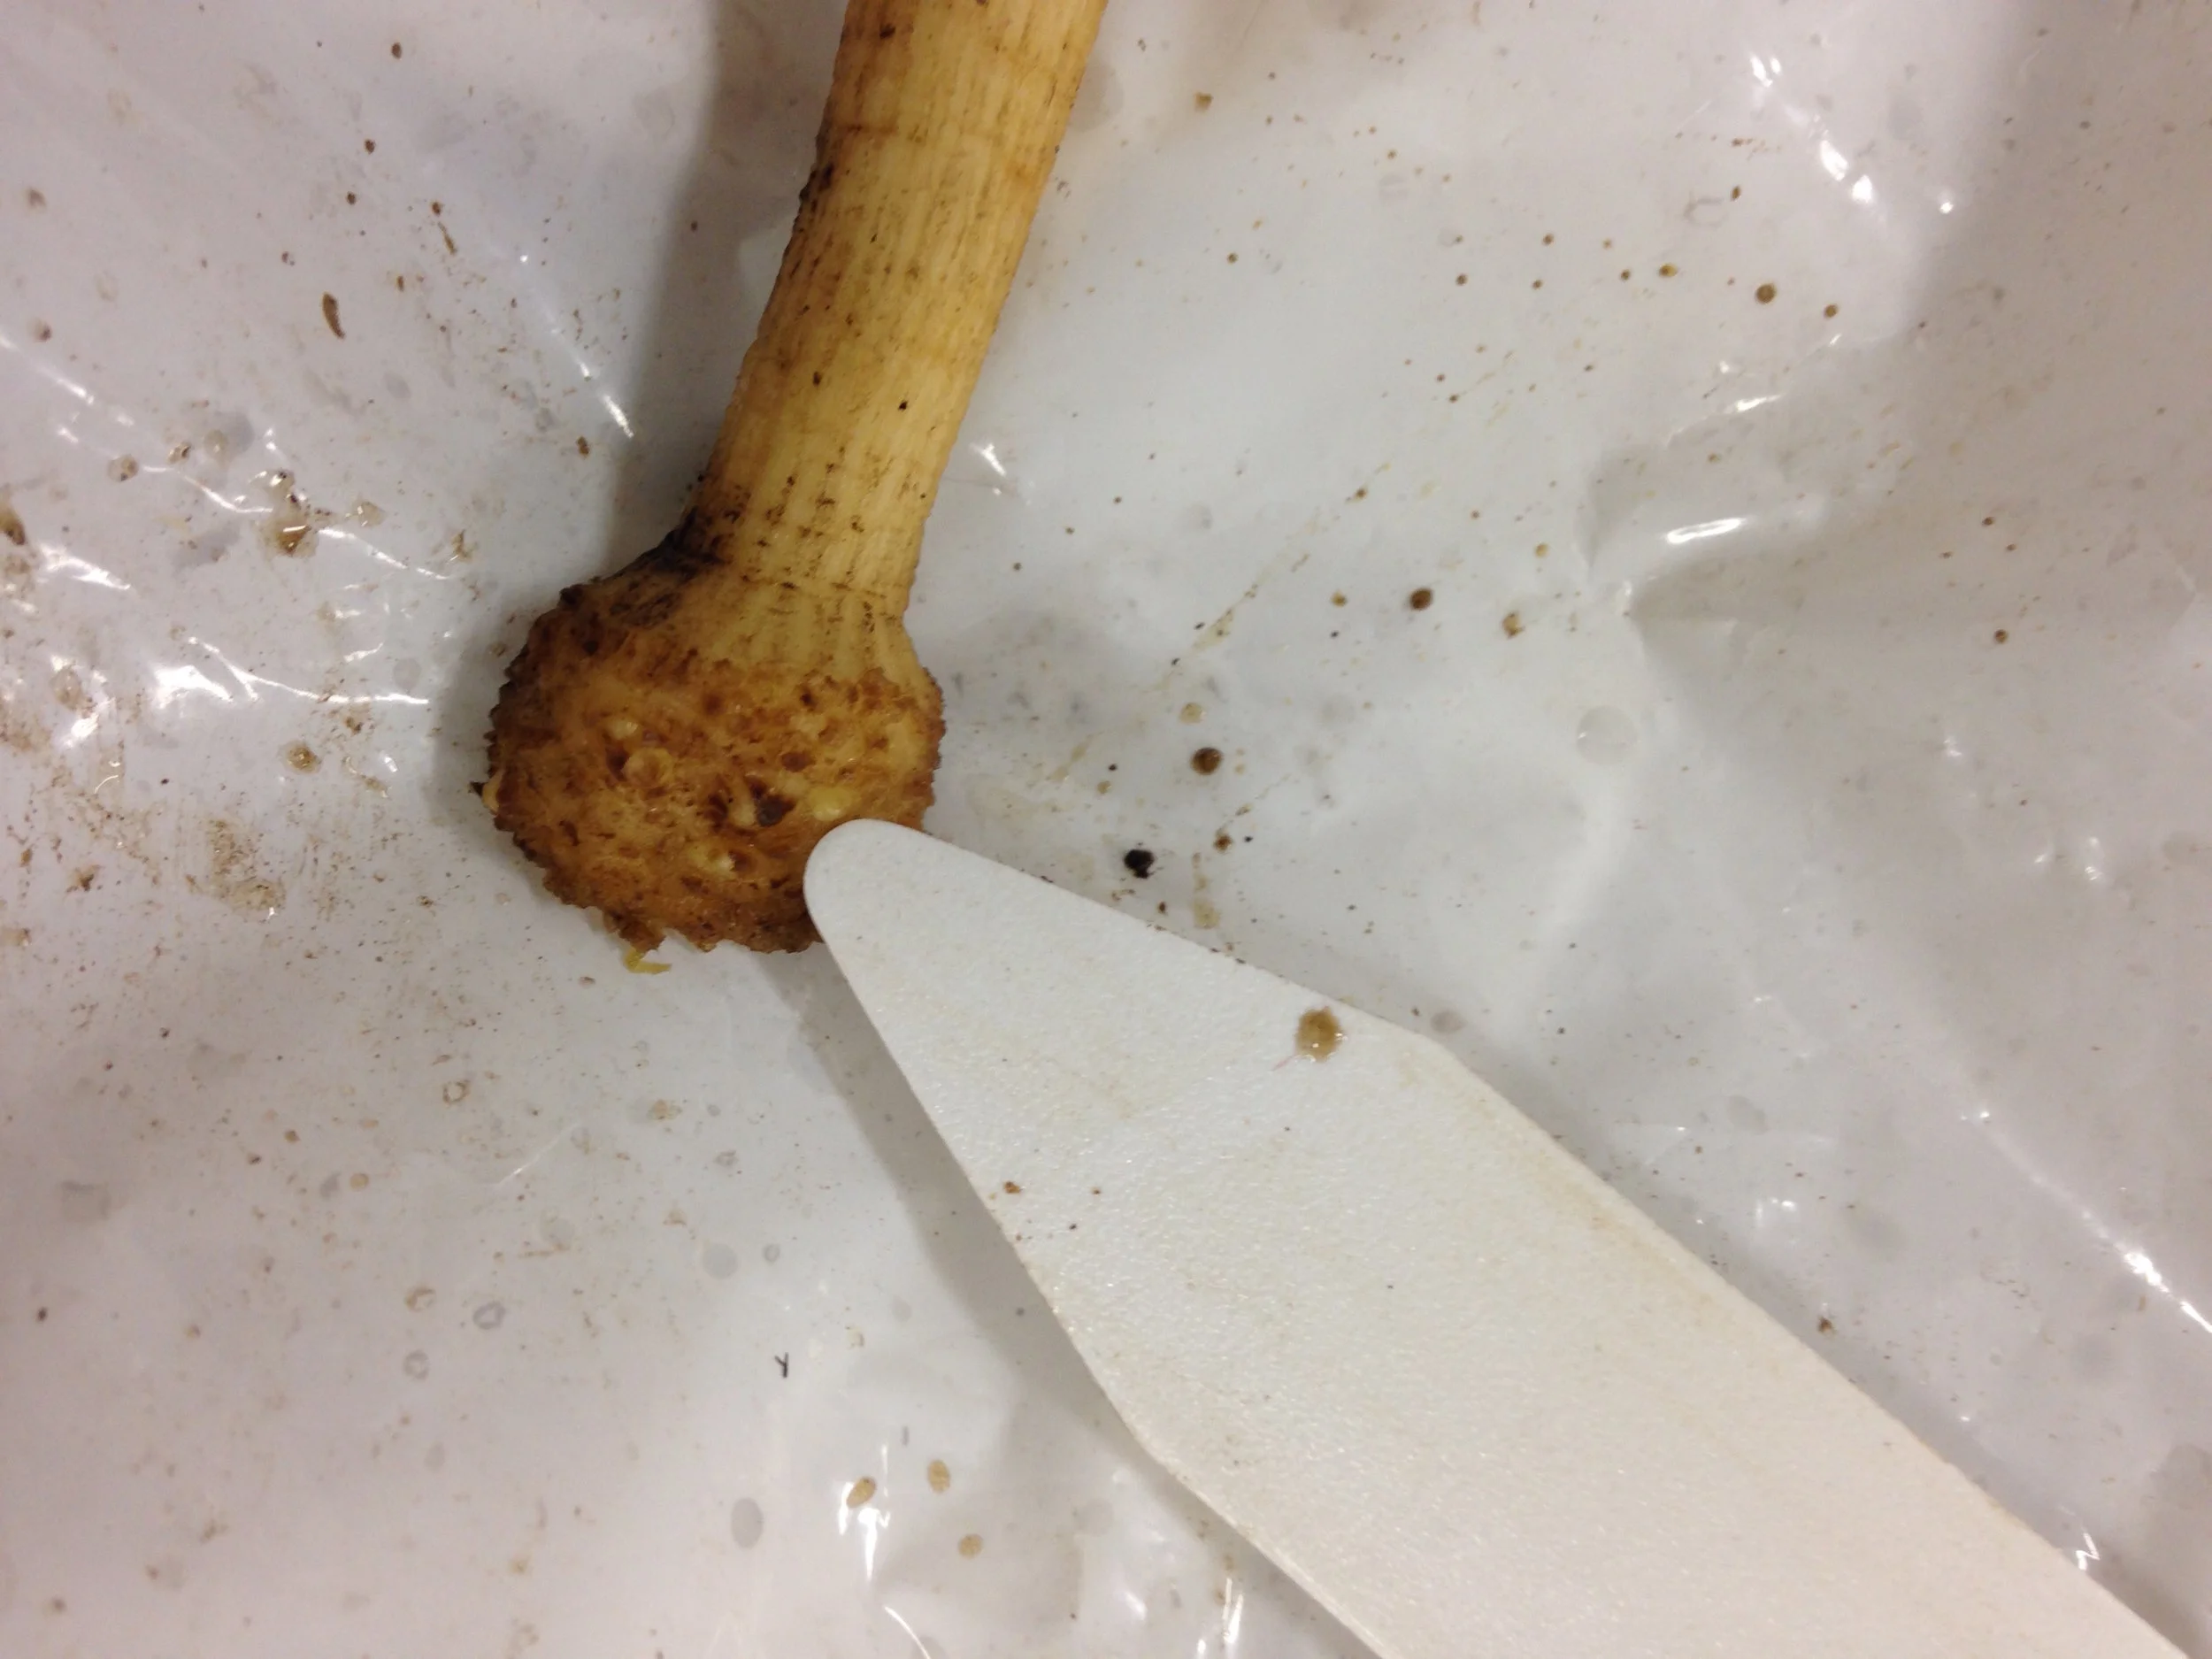
The brown “rot” on this tuber has to go. Cut it off or cut it out so you have clean surfaces going into storage.
Once I have the tubers I want to keep separated from the rest, I do a final cleaning. I dip the tuber in water, use a very soft bristled toothbrush to very, very gently brush down the tuber not across so as to try to clean without breaking the skin on the outside of the tuber. At this point, some growers dip the tuber in a liquid solution of a fungicide. Others recommend a gentle “shake in a bag method” of putting the tuber in a bag of perlite and sulphur, with the latter also acting as a fungicide. Doing so is up to you.
Drying prior to storage is important, and that is what comes next. When the tubers are allowed to dry, the skin hardens and this helps maintain moisture in the tuber over the winter. Place your dahlia tubers in a clean, dry, location. Do not place your tubers directly on your garage floor, or other cement surface, since cement will pull moisture away from the tubers. Let your tubers dry for 2 to 4 days, and check to make sure that they are drying on all sides. you might have to roll them over so they dry evenly.
In a couple of days, stop back for the final post on storage methods for your beautifully-divided tubers. Congratulations, I knew you could do it!